Removing xeroxprint printers from windows 10
- Alexis Pae
Xeroxprint is the old server where MVNU's networked printers were stored. We have now moved over to the Print server, and are removing all printers that were on Xeroxprint.
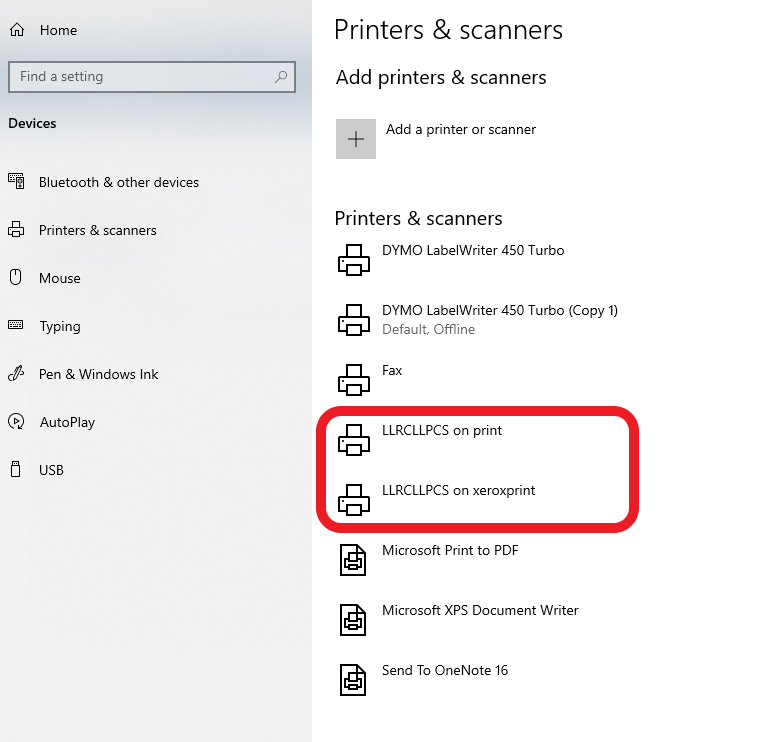
Open the "Printers & scanners" menu from your settings. This can be done by clicking the Start menu button, clicking on the gear button, and then going to Devices. "Printers & scanners" is the second option on the left hand side.
As seen here, we have two versions of a printer driver installed. One is installed from print, and the other from xeroxprint. Since MVNU is moving away from the xeroxprint server, we want to remove the driver that is named "LLRCLLPCS on xeroxprint". These same steps can be done for the printer you may be trying to remove.
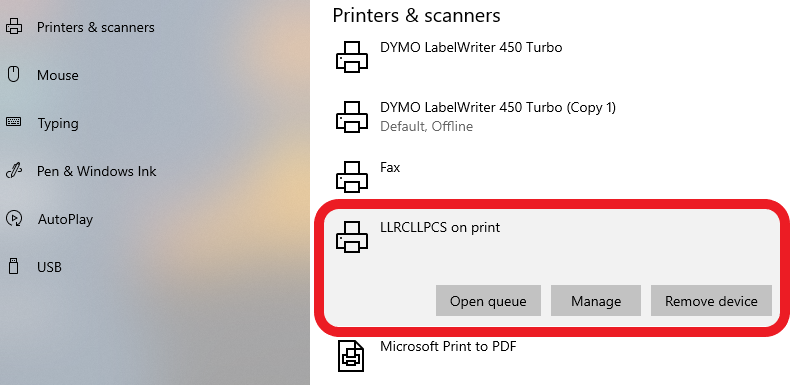
In order to remove the xeroxprint driver, click on the printer icon, and click on "Remove device". This will remove this driver from your computer.
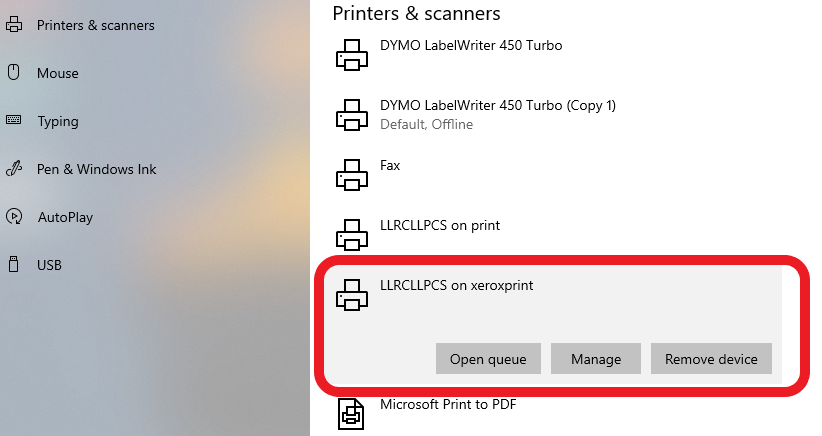
Now the only driver that is left for the LLRCLLPCS printer is from the print server. If this is the main printer you will be using, you can also set this as your default printer.
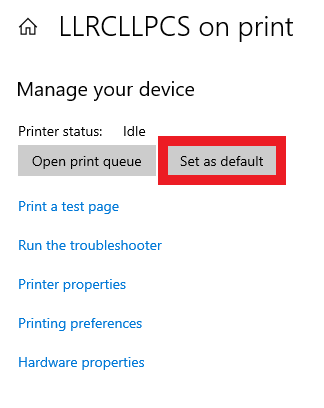
In order to make a printer your default printer, simply click on "Manage". This will open the following menu, where you can select "Set as default". You are now set to print!